Meta Description: No-Bake Circus Animal Cheesecake is a creamy, colorful, and fun dessert made with crushed circus animal cookies and a smooth pink cheesecake filling. Perfect for birthdays, celebrations, and no-bake dessert lovers.
Why You Will Love This No-Bake Circus Animal Cheesecake
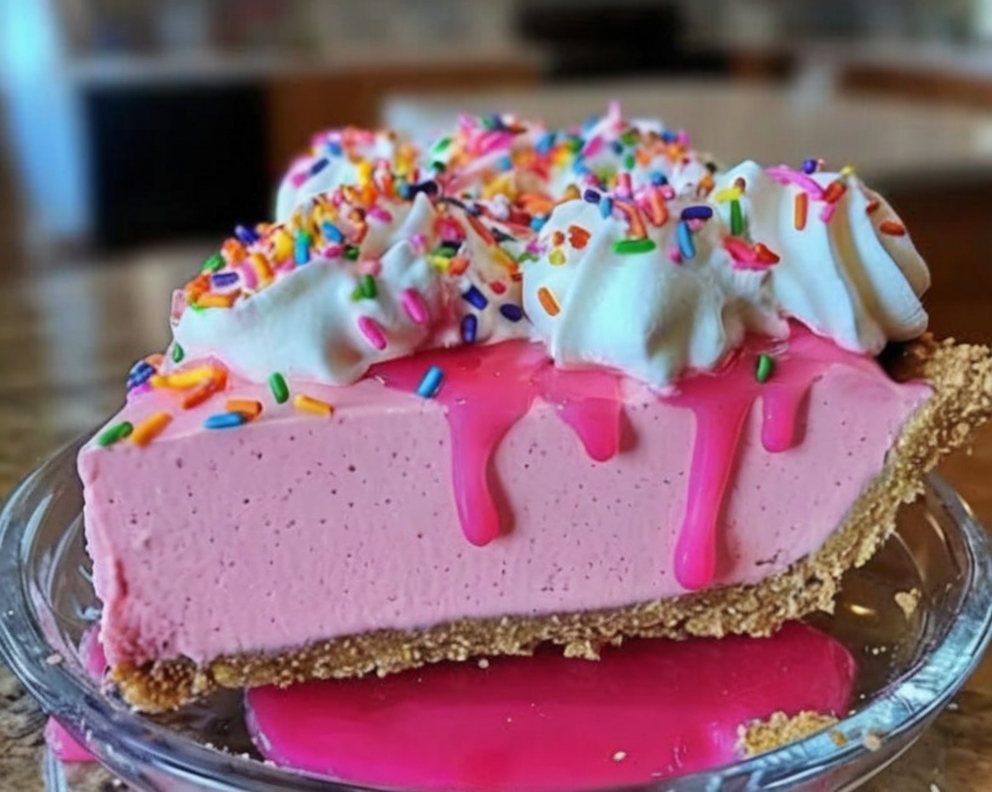
This No-Bake Circus Animal Cheesecake is pure joy in dessert form. It is creamy yet light, sweet yet balanced, playful yet elegant. It brings back childhood memories with every bite while still feeling indulgent enough for special occasions. Because it requires no oven, it is stress-free, reliable, and perfect for warm days when you want something impressive without complicated steps.
Readers love this recipe because it combines nostalgia, vibrant color, and a smooth, bakery-style texture with minimal effort. It is ideal for parties, birthdays, baby showers, or simply when you crave something cheerful and delicious.
Preparation Time
Preparation: 20 minutes
Chilling Time: 4 hours (or overnight)
Total Time: About 4 hours 20 minutes
Servings: 8–10 slices
Tools You Will Need
- 8-inch springform pan
- Parchment paper
- Large mixing bowl
- Hand mixer or stand mixer
- Spatula
- Food processor or rolling pin
- Measuring cups and spoons
Ingredients
For the Crust
- 1 (9 oz) bag circus animal cookies
- 1/2 cup (1 stick) unsalted butter, melted
- 1 tablespoon granulated sugar
For the Cheesecake Filling
- 16 oz (2 packages) full-fat cream cheese, softened
- 1/2 cup sour cream
- 1 cup granulated sugar
- 1 teaspoon pure vanilla extract
- 4–6 drops pink gel or liquid food coloring
For Decorating
- 1/4 cup rainbow sprinkles
- 8–10 whole circus animal cookies
Step-by-Step Instructions
- Prepare the crust: Crush the circus animal cookies into fine crumbs using a food processor or rolling pin. Mix with melted butter and sugar until the texture resembles damp sand. Press firmly into a lined 8-inch springform pan. Freeze for at least 30 minutes.
- Prepare the filling: Beat softened cream cheese, sour cream, sugar, and vanilla extract for 2–3 minutes until smooth and creamy. Add pink food coloring and mix gently until evenly combined. Avoid overmixing.
- Assemble: Spread the filling over the chilled crust and smooth the top with a spatula.
- Chill: Cover loosely and refrigerate for at least 4 hours or overnight until fully set.
- Decorate and serve: Add rainbow sprinkles and garnish with whole cookies. Slice using a knife dipped in hot water and wiped clean between cuts.
Expert Tips for Perfect Texture and Flavor
- Always use fully softened cream cheese to avoid lumps.
- Do not overmix after adding coloring to keep the texture dense and creamy.
- Press the crust firmly to prevent crumbling when slicing.
- Chill overnight for the cleanest slices and best structure.
Creative Variations and Additions
- Fold crushed cookies into the filling for extra texture.
- Add white chocolate chips for sweetness and richness.
- Use different gel colors to match party themes.
- Top with whipped cream rosettes for a bakery-style finish.
Storage Instructions
Store the cheesecake covered in the refrigerator for up to 4 days. It can also be frozen for up to 2 months. Thaw overnight in the refrigerator before serving. This dessert does not require reheating.
Approximate Nutrition per Serving
- Calories: 420–480 kcal
- Fat: 30g
- Carbohydrates: 38g
- Sugar: 28g
- Protein: 5g
Frequently Asked Questions
Can I make this cheesecake ahead of time?
Yes, it is actually better when prepared a day in advance.
Can I use low-fat cream cheese?
Full-fat cream cheese is recommended for stability and richness.
Why is my cheesecake too soft?
It likely needs more chilling time. Refrigerate longer until fully set.
Can I use a different cookie for the crust?
Yes, vanilla sandwich cookies or graham crackers work well.
Final Tip
Take your time when pressing the crust and allow the cheesecake to chill completely. The patience you give it in the refrigerator is rewarded with perfect slices and a texture that feels luxurious with every bite.